 Image 1 of 2
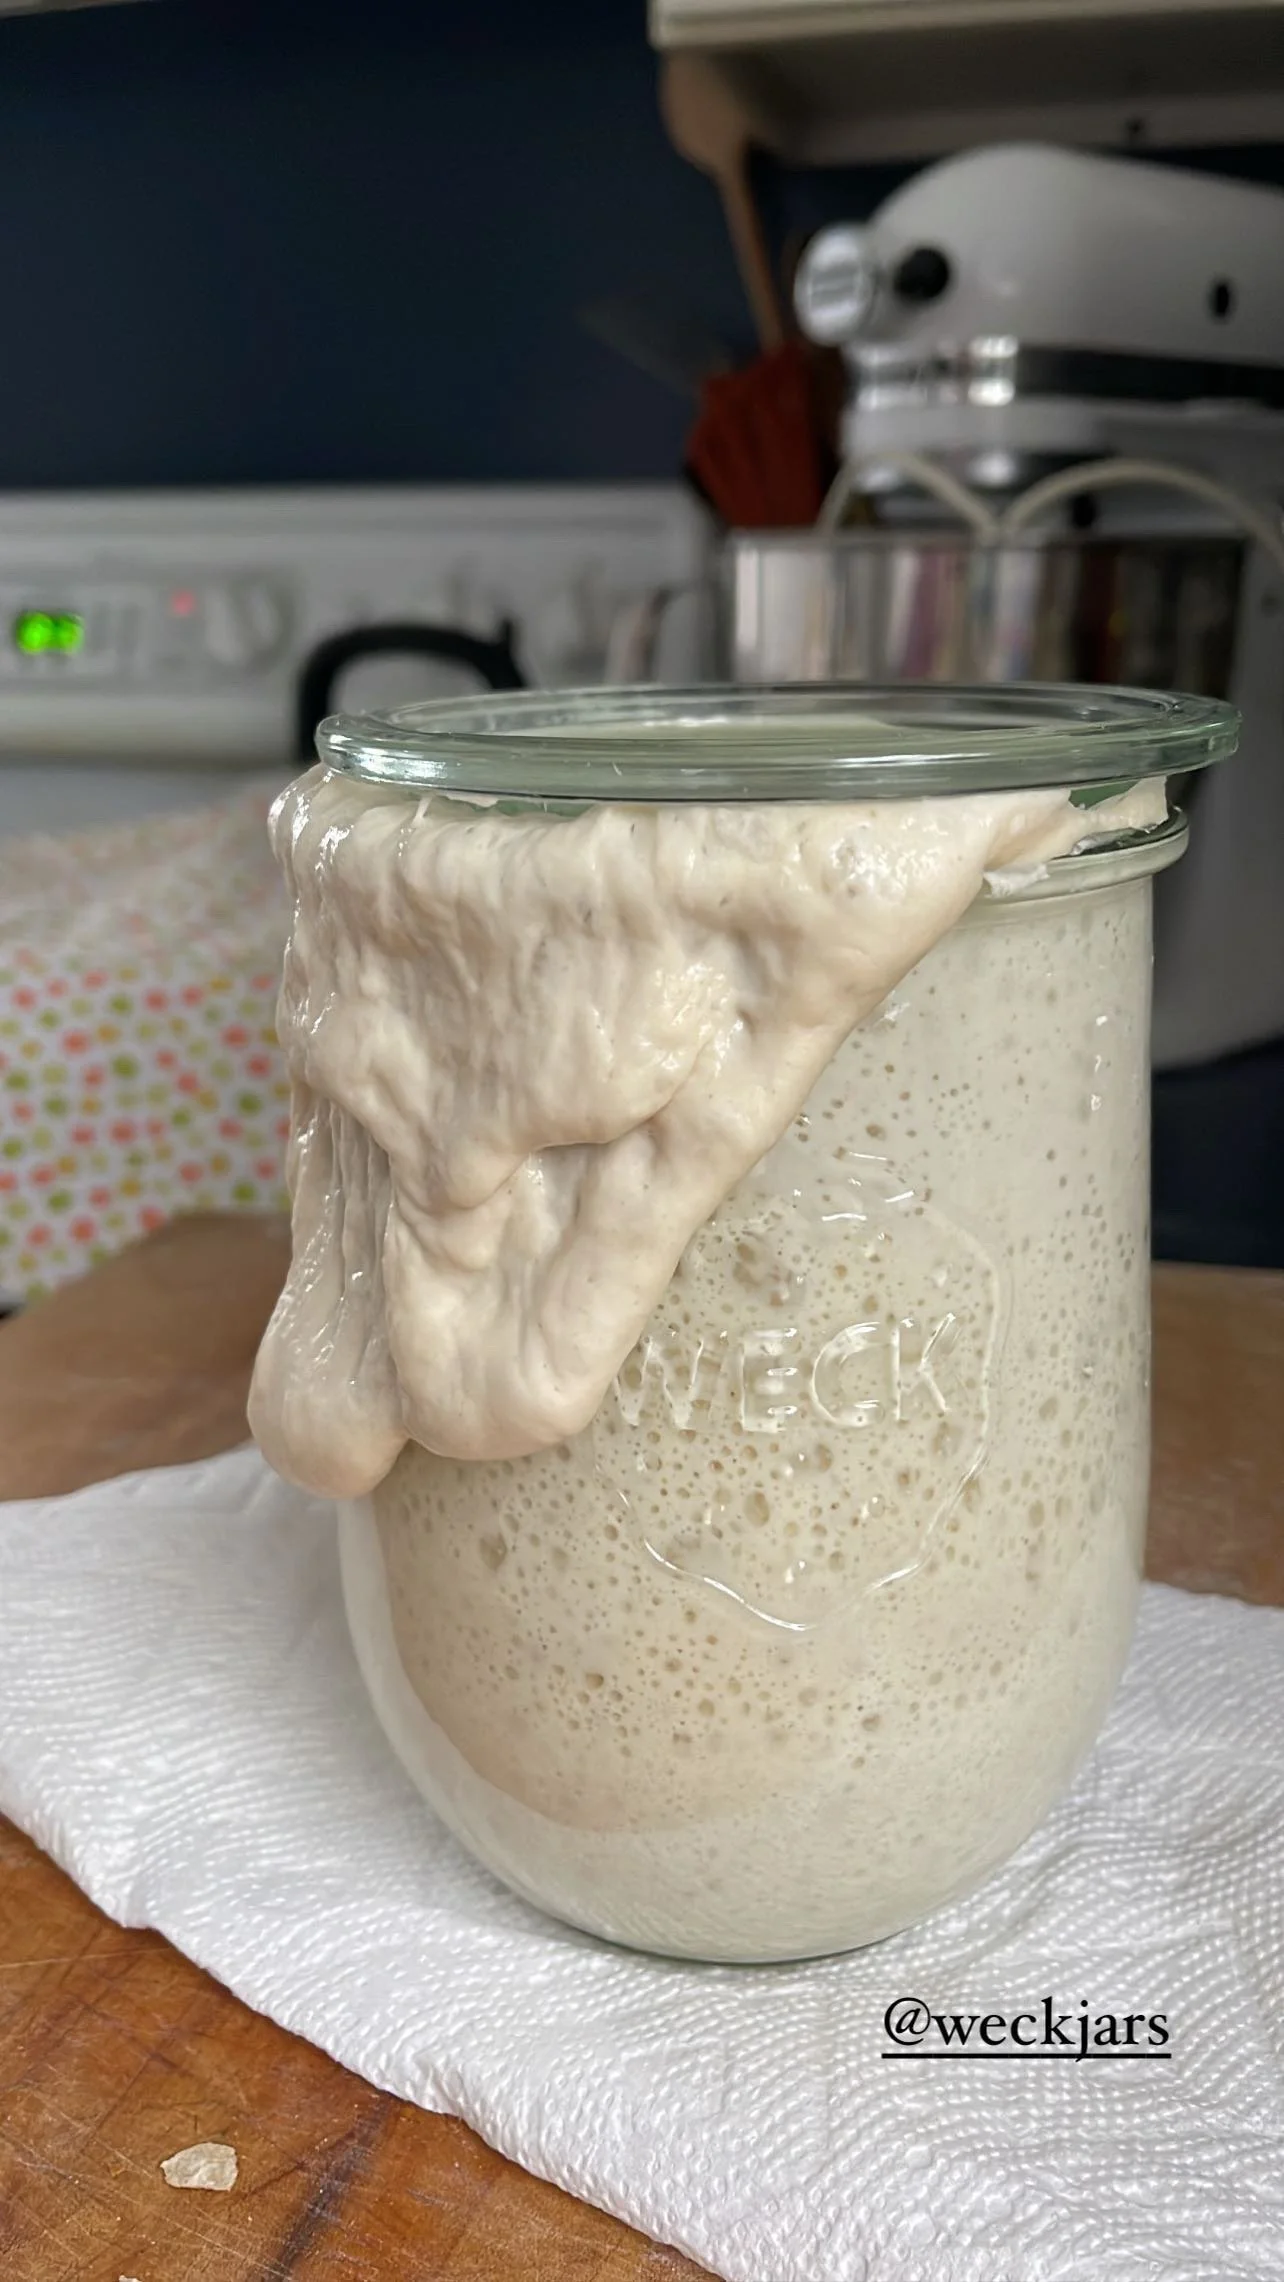 Image 2 of 2

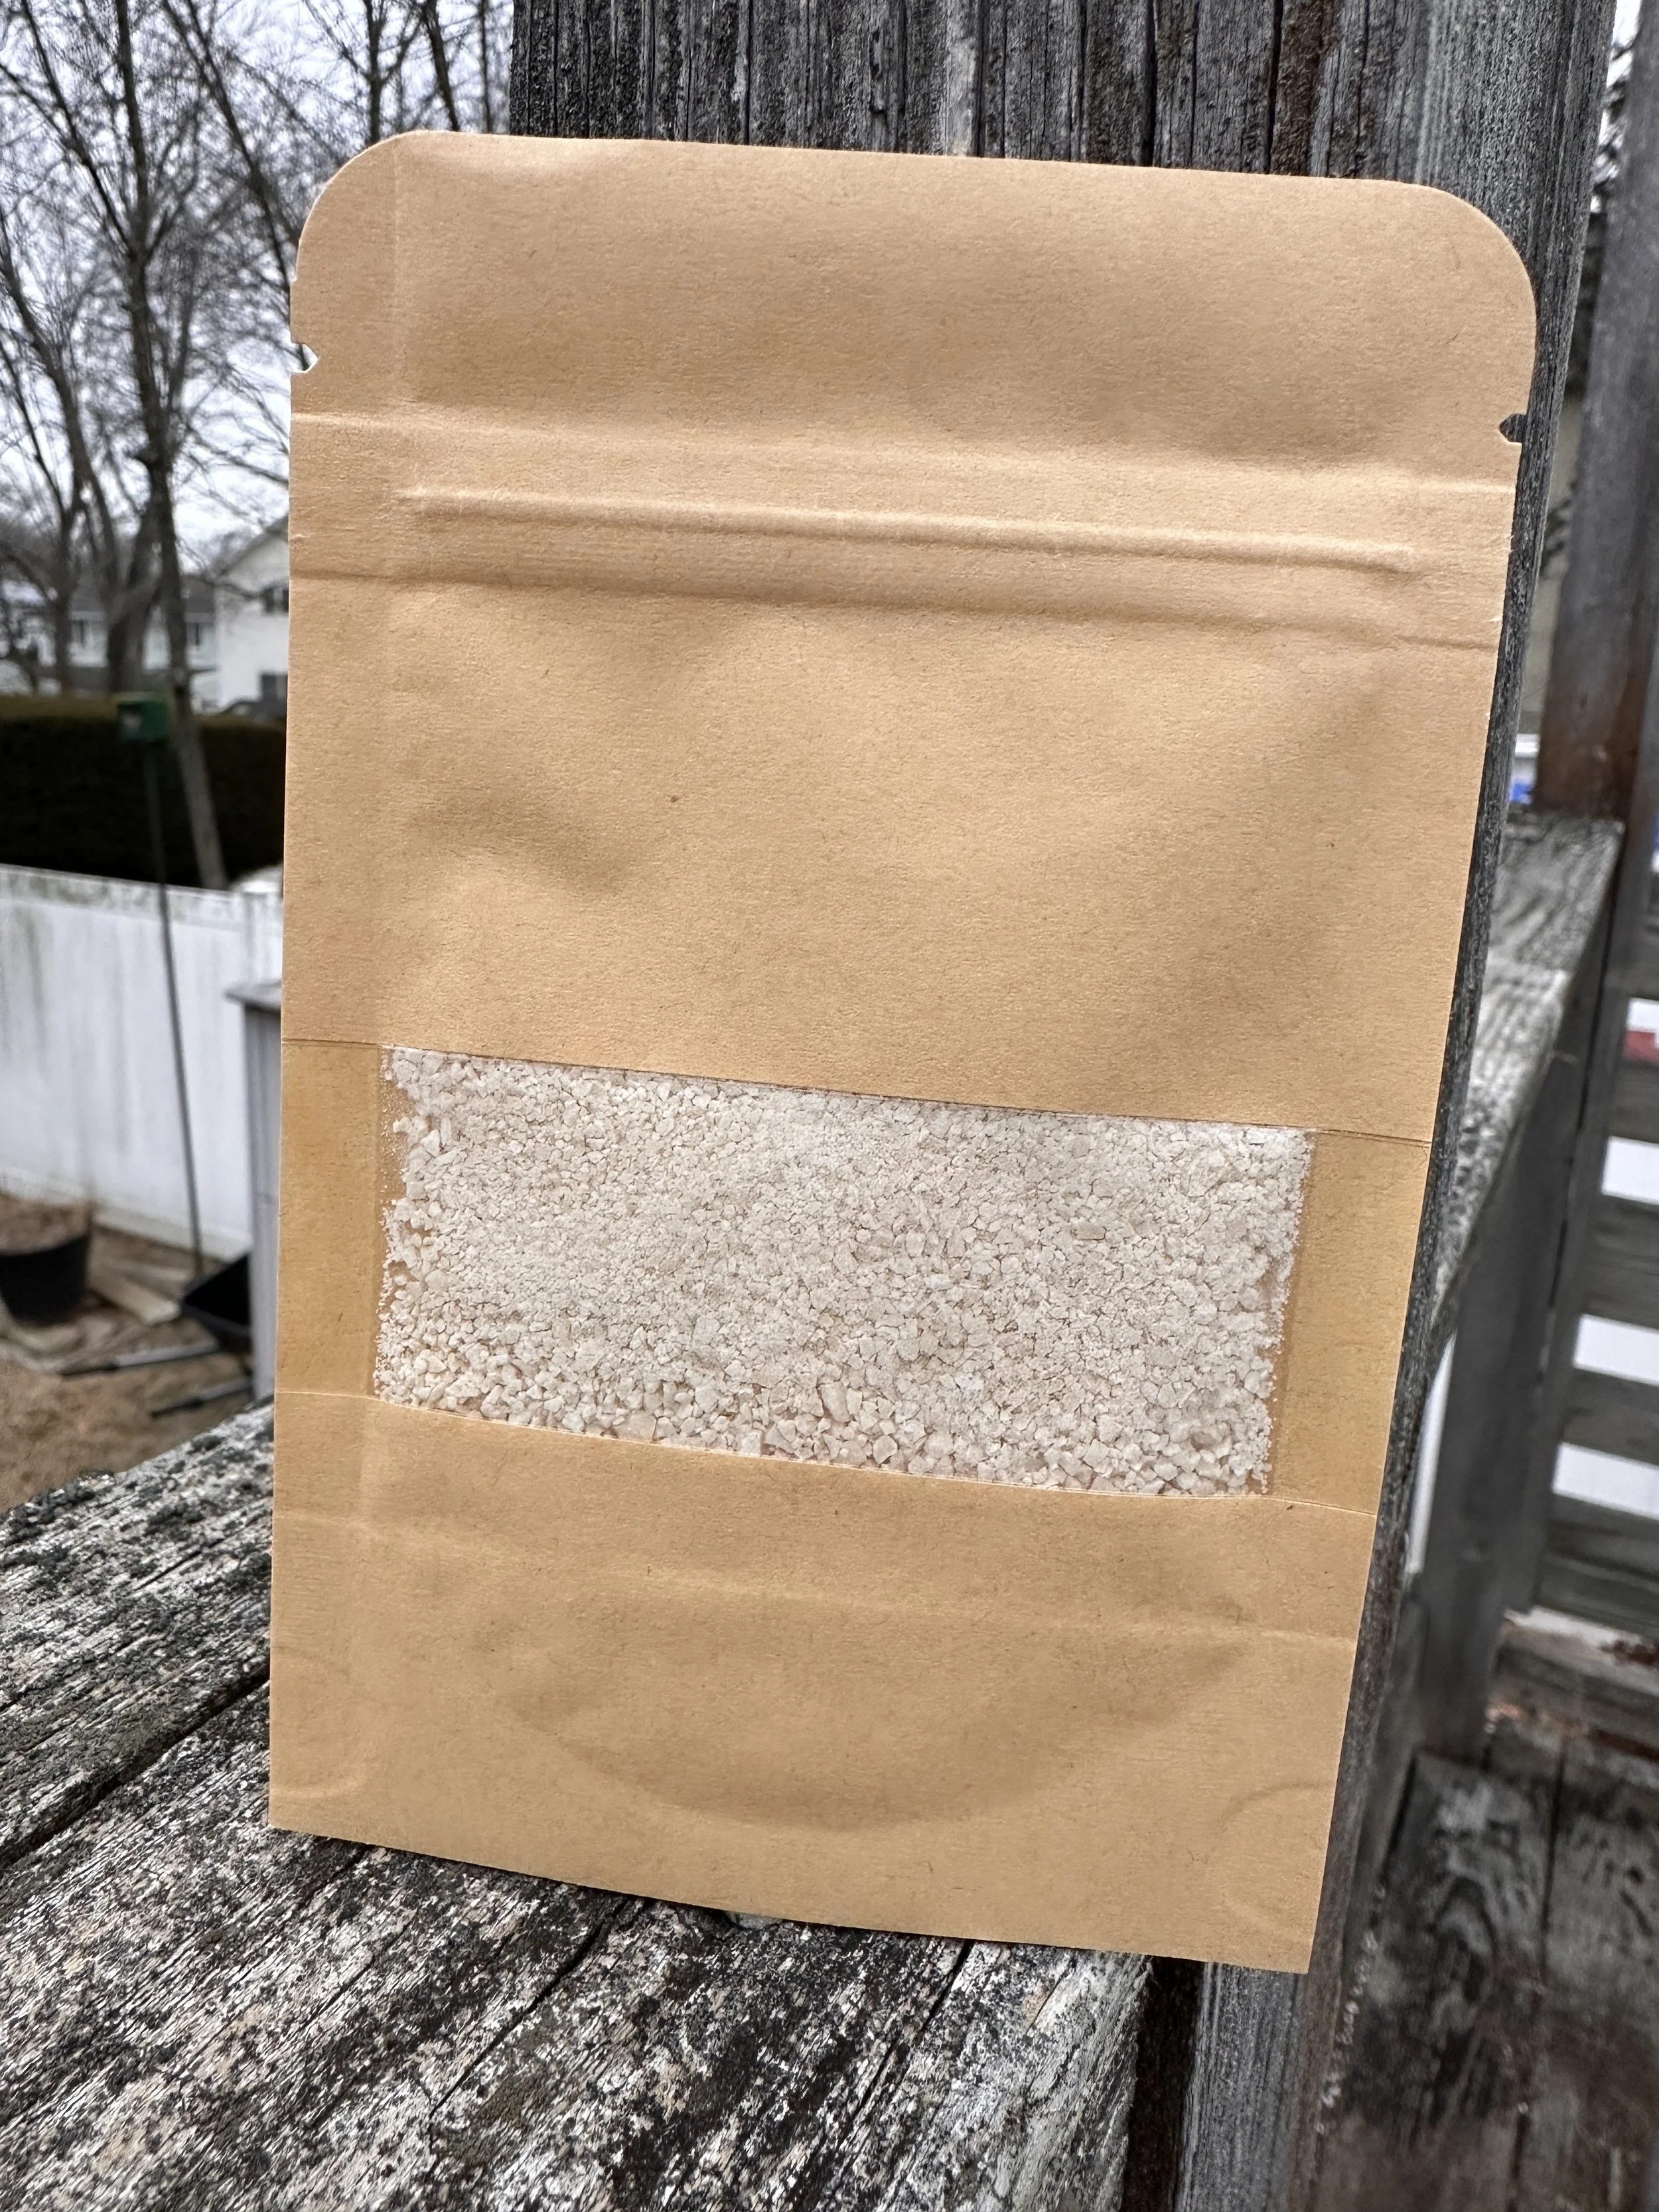
Ingredients
Bread Flour (unbleached hard red wheat flour, enzyme)
Filtered Water
Contains: Wheat
INSTRUCTIONS
How to Rehydrate Ashie’s Dehydrated Sourdough Starter
-
In a clean pint-size mason jar or similar, combine one full package of dry sourdough starter 1.5 tablespoons of filtered lukewarm water. Allow the dry sourdough starter and water to sit for several minutes to soften and combine. Use a fork or spoon to stir it on occasion.
Then, mix in 1 tablespoon of flour. Mix thoroughly. Use a spatula to scrape down the sides of the jar. You can put an elastic band around your jar where the top of the starter hits to watch for growth.
Cover the jar loosely by resting a lid on top. If you are using a mason jar that comes with a flat and ring style lid just rest the flat part of the lid on top of the jar without sealing the ring on it. If you don’t have a lid you can cover the lid with a piece of plastic wrap or a small dish. We are just preventing anything from falling into the jar and from the starter drying out.
Finally, set the container in a moderately warm location. Come back in about 24 hours.
-
Into the same jar as yesterday, add 1 tablespoon of flour and 2 teaspoons of water to the starter. Mix well. Cover the jar or container again, and allow it to sit for another 24 hours.
-
By day three, you may start to see fermentation bubbles in the starter! Repeat the same process as yesterday, adding 1 tablespoon of flour and 2 teaspoons of water. Mix, cover, and set aside.
During the next 24 hours, your starter may start to rise. If you haven’t already, mark the level of the starter on the side of the container after mixing and watch how much it rises.
-
Today, we are going to step up the volume more than before. The growing sourdough starter should smell really nice by now, like sourdough and yeast – reminiscent of a brewery or bakery! That is an excellent sign she is getting stronger and can handle more food.
This time, add 1/3 cup flour and 1/4 cup water.
Mix well, until it looks like thick pancake batter, making sure all of the flour is fully incorporated.
Cover the container, note the level of the starter on the side of the container, and set it aside again.
Within 12 to 24 hours, your starter should bubble, rise, and nearly double in size! If your starter doesn’t appear to rise at this stage, you may need to adjust your consistency. If it is too runny add a tiny bit more flour. You want it to look like thick pancake batter.
-
If your starter is now actively bubbling, rising and falling – congratulations! You have successfully reactivated the dry sourdough starter. Every time you bake sourdough you must leave behind a portion of your starter to feed and continue on.
I like to use a 1:1:1 ratio if I want to bake soon or a 1:10:10 ratio if I plan on baking later on in the day. The following ratios are just examples of how to continue to feed your starter at the different ratios.
1:1:1 ratio: 100g starter, 100g filtered warm water, 100g unbleached bread flour
1:2:2 ratio: 10g starter, 20g filtered warm water, 20g unbleached bread flour
1:10:10 ratio: 10g starter, 100g warm water, 100g unbleached bread flour
SOURDOUGH STARTER FAQs
-
Sourdough has been around for centuries and was the method used to leaven bread. It wasn’t until the 1800’s that commercial yeast was made and used. Sourdough starter is a natural wild yeast and bacteria that ferments and is used to leaven bread. It is a living ingredient that needs to be fed in order to be kept alive. Sourdough bread is known to improve digestion and is said to be digestible by people who have gluten sensitivities. (Please note that I am not a doctor and do not intend this statement to be medical advice.)
-
Discard refers to the leftover portion of your starter after you bake with it and need to get rid of some before you feed it again. It is usually going into a dormant state and needs to be fed to become a bubbly and active starter to make your bread rise. You can store your discard in a jar in the refrigerator or if you don’t think you will use it, or you just start to collect too much, simply throw the discard away if you want to.
-
It can take anywhere between as few as 4-6 hours to as long as 24-48 hours. A lot of it depends on the temperature of your environment, temperature of your ingredients, and how “sour” you want your products to be. The longer your dough ferments, the more sour it will taste. Note: your “bulk fermentation” starts the moment your dough ingredients hit the bowl when you are mixing. Keep note of the time you start. Also, everything changed for me when I learned how to notice the changes in the dough rather than looking at the clock. It is going to take much longer to bulk ferment in the winter than it is in your kitchen in the hot days of summer.
-
Inclusions are any ingredients you want to add to your bread to flavor it. For example, shredded cheddar cheese and jalapeño pepper, chocolate chips, or olives and rosemary to name a few. You can incorporate these inclusions in a couple of ways. First is to mix them in when you are doing your stretch and folds. You would simply spread the infusions on the top of the dough ball when you are stretching and folding your dough. The other way is to laminate. This means after you have performed all of your stretch and folds and are at the stage after bulk fermentation has finished, you are ready to shape your dough. You stretch it out to a rectangle shape and spread the ingredients all over the surface of the dough. Then you will fold your dough add more of the inclusions and keep folding until you shaped your dough into a ball. Take care not to be too rough you don’t want to tear the dough.
-
Always always always filtered water. The chemicals from tap water, specifically chlorine, will inhibit the growth of bacteria you need in your starter for it to ferment properly. In short, it will kill your starter. Even filtering through a standard water filter is better than using the tap.
-
While you can feed your starter with all-purpose flour, bread flour has a higher protein count than all-purpose flour and your hungry starter will love it.
-
In a recipe you will see this word used a lot. It really means when you mix just the flour and water in your recipe together before adding the starter and salt and any other ingredients and allowing it to rest for a period of time. This allows your flour to fully incorporate with the water and hydrate fully.